Eliminating soft foot before attempting machinery alignment will save you time and money
In the first installment of this two-part blog series about soft foot, you learned how to identify the symptoms, effects, and types of soft foot conditions. In this second post, you’ll learn how to diagnose and correct the condition and what types of tools to use.
It’s estimated that two-thirds of all rotating machinery have soft foot conditions. Soft foot is also the root cause of most alignment issues and is considered to be the most critical thing to check before performing an alignment. So why is soft foot one of the most overlooked machinery problems?
Granted, the process of diagnosing and correcting soft foot can be frustrating, and it often takes longer to fix than the actual machine alignment. However, if you can remain calm and think critically, the effort always has a huge payoff which is preventing machine destruction.
Soft foot toolkit (Diagnosing soft foot)
Several ways exist to diagnose and measure soft foot. It’s essential to apply the following methods during every machine alignment and installation to determine if there’s a soft foot condition.
Having the right devices on hand can make detecting soft foot go smoother and faster. Here’s a list of tools to help you measure for soft foot and eliminate any debris found under and around the feet to ensure machine alignment.
-
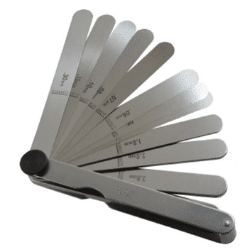
Image 1 – Feeler gauge Feeler gauge: A feeler gauge is used to measure gap widths or the clearance between two parts. The tool has several steel blades with different thicknesses that can measure as little as 1/1000 of an inch or up to a quarter (¼) inch.
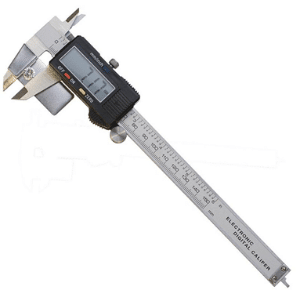
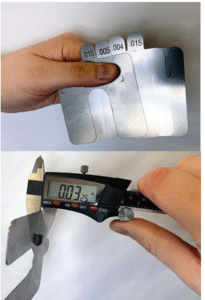
- Micrometer or digital caliper: A micrometer can also measure gap thickness. The tool is used to verify shim thickness. A caliper is used to measure shim stacks before inserting them under the feet. This verifies that the shims are the thickness as labelled and not defective.
Image 2 – Digital caliper - Wire brush: This clears away the debris or corrosion you may come across while checking machinery feet.
- Cleaner/degreaser: Use a heavy-duty degreaser in combination with the wire brush to clean existing shims and contact surfaces during the soft foot correction. Brake cleaner works well, but you might also have success with other well-known commercial cleaners.
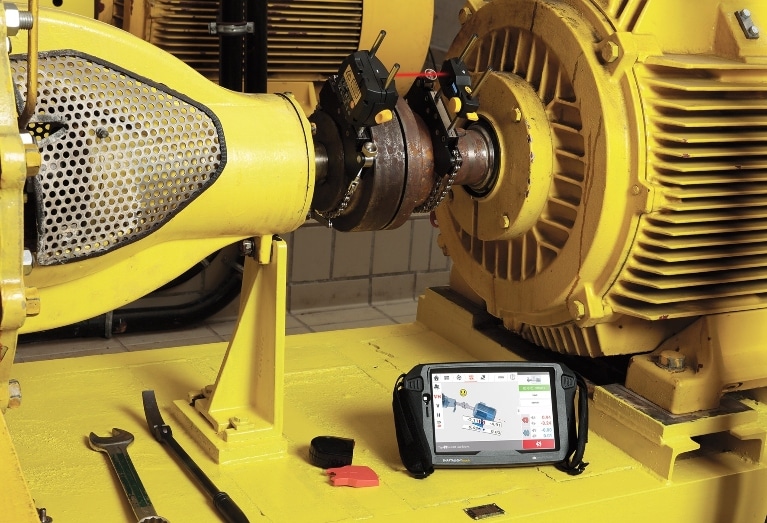
- Laser shaft alignment system: A laser system can be helpful when measuring for soft foot and is easy to use. This sophisticated tool walks you through the measurement process via a series of screens and includes an auto diagnosis. Although you can use either a dual or single laser shaft alignment tool, a dual system can be more challenging to use.
Correcting soft foot with shims
Using shims to correct machine foot issues is usually very effective. However, if the frame or mount is bent, twisted, or cracked, or other overall machinery destruction has occurred, correcting the condition can be quite tricky.
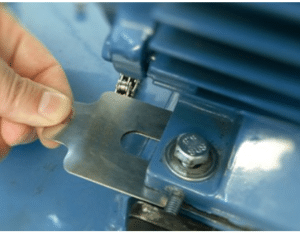
In most cases, the machine you’ll be working on will already be shimmed. It’s a good practice to clean any shims that are not new and also clean the base plates and feet to eliminate any dirt and debris. If you do not remove the corrosion, paint, and grime that can accumulate over time, it’s possible to form a new condition, squishy foot, during alignment.
5 rules to avoid squishy foot
Here are some good rules of thumb to follow to better ensure that you don’t create a squishy foot condition while trying to eliminate another soft foot condition.
- Use shims big enough to cover at least 80% of the footprint. Shims come in many sizes, and if the machinery requires large shims, they’re usually fabricated on site.
- Sandwich thin shims in between thick shims. It makes placement easier and eliminates the potential for shim creasing.
- Measure stacks with a micrometer to verify shim thickness. Use it to make sure things add up as they should because errors or defects sometimes happen during manufacturing.
- Measure shims over 0.030 to verify thickness. Some sources might recommend lower or higher thicknesses, but ultimately, it’s your decision.
By following these soft foot best practices, including applying the right methods and tools to accurately diagnose and correct the condition, you set yourself up for success. Always remember to check for soft foot before aligning shafts. It will save you time, money, and headaches.
For a more in-depth look at soft foot, watch the Fluke Accelix Best Practice Webinar, “A hard look at soft foot: detecting machine frame distortion before it causes major issues.”

