Diagnosing and correcting shaft runout can extend the lifespan of your assets and reduce your overall maintenance costs. But all too often, maintenance teams overlook this issue.
Fortunately, using the right tools makes it easy to check for shaft runout and to correct it when it shows up. This article will explain exactly what shaft runout is and what the different types of shaft runout look like. We’ll also explain how to measure and correct it.
What Is Shaft Runout?
Shaft runout means that a rotating shaft has deviated from its true axis of rotation. Every shaft (or rotating cylinder) has a natural center of rotation. When it’s rotating correctly, the shaft spins evenly around the centerline. Shaft runout occurs when the rotating shaft strays from the centerline and moves with eccentricity.
Typically, shaft runout is caused by coupling defects or by bent shafts. In extreme cases, shaft runout gives the shaft a clear wobble. But shaft runout isn’t always visible to the naked eye. Even relatively minor shaft runout can cause issues that lead to major maintenance issues over time.
Left uncorrected, shaft runout can lead to excess vibration levels, premature seal wear, and bearing defects. All of those issues can shut down assets, leading to costly downtime and repairs.
Types of Shaft Runout
There are two main kinds of shaft runout:
- Radial runout causes the shaft to deviate from its axis of rotation in the radial direction.
- Axial runout causes the shaft to diverge from its centerline along the axis of rotation.
With the right tools, technicians can pinpoint, measure and correct both forms of shaft runout, bringing assets back into precise alignment.
How to Measure Shaft Runout
Technicians measure shaft runout using a range of different tools. The most common are dial indicators, laser systems, and digital gauges. Whatever tool you’re using, the process follows the same basic steps:
- Set up the measuring tools near the shaft.
- Position the measuring device and manually rotate the shaft to measure the degree of runout.
- Take measurements in a few key locations: at the hub and the coupling rim, and at several angular positions, to assess the level of eccentricity and determine whether the coupling is skewed.

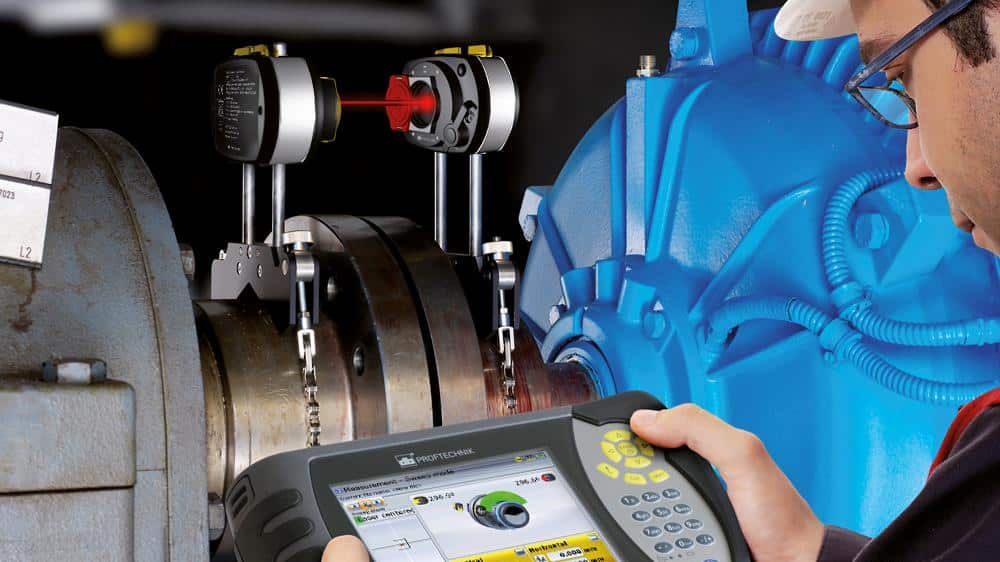
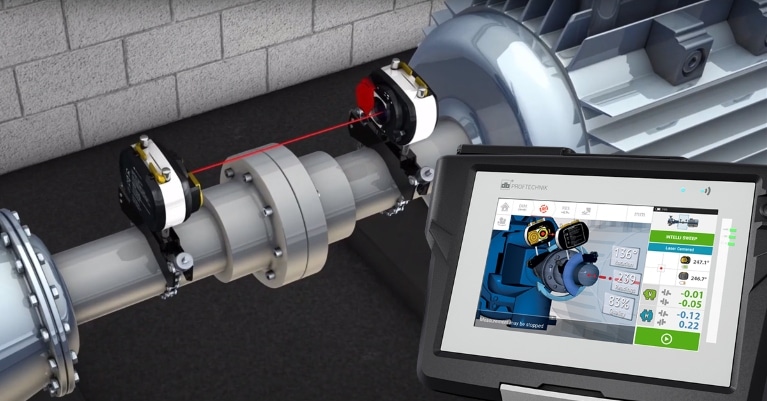
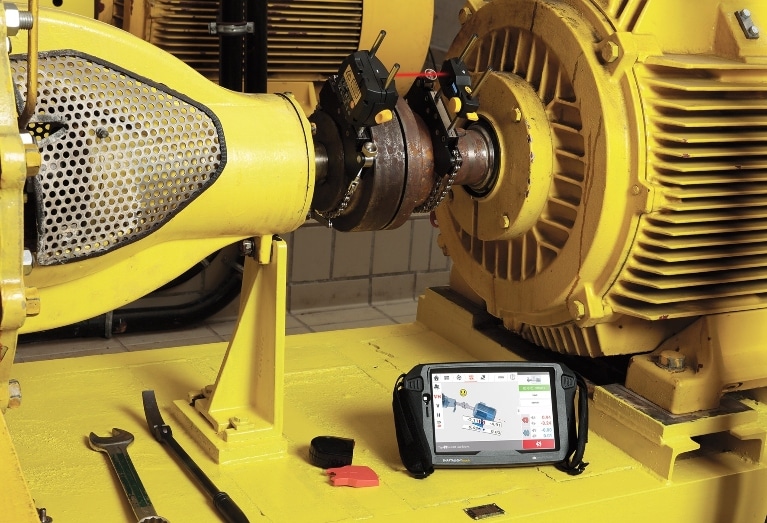
Laser alignment tools, like RotAlign and OptAlign from Prüftechnik, are the tool of choice for many organizations. Prüftechnik’s unique single-laser technology makes it easy to get precise, repeatable measurements every time. Even inexperienced crews can learn to use RotAlign and the OptAlign quickly, and can get accurate measurements with only minimal training.
All too often, crews overlook issues like shaft runout. Having reliable, easy-to-use tools means that you’ll get your alignment done right, without skipping any of the key steps. It’s a great way to ensure that you stay within the shaft runout tolerance standards for your industry.
Shaft Runout Tolerance Standards
How much shaft runout is acceptable, and when does it become a problem? The answer is that it depends. Shaft runout tolerance refers to the allowable level of runout. That figure changes depending on your industry and even the kind of asset you’re using. Medical devices, for example, need a high level of precision, meaning a low runout tolerance.
There are a few key standards to be aware of. ISO 1101 spells out the maximum runout tolerances for industrial machinery. The American National Standards Institute (ANSI) says that, as a general rule, runout should be no greater than five percent of the average radial air gap, or .003 inches, whichever is smaller.
Common Causes of Shaft Runout
The immediate causes of shaft runout are usually a bent shaft or an eccentric coupling. Couplings that aren’t bored through the center can cause shaft runout; so can couplings with a bore bigger than the shaft itself.
But what causes bent shafts and faulty couplings? The root causes are:
- Manufacturing imperfections
- Damage from an improper installation
- Damage during machine operation
- Wear and tear to the asset leading to misalignment
Your maintenance team can get ahead of these issues by monitoring asset vibration levels on a regular basis. Condition monitoring is one of the best ways to catch asset faults early, before they turn into big issues.
How to Correct Shaft Runout
With the right tools, even new crews can effectively correct shaft runout.
Start by pinpointing the source of the problem. Take precise measurements and assess the location and severity of the runout.
Depending on the severity, you may need to re-machine or replace the shaft. You should also use alignment tools to correct misalignment. Finally, remember to use your alignment tools to make sure that you’ve corrected the runout successfully.
Prüftechnik’s laser alignment tools deliver unbeatable precision and accuracy, making them a great choice for any organization. They’re especially valued for their ease of use and measurement speed.
The Impact of Excessive Shaft Runout
Shaft runout often gets ignored, especially when it’s relatively minor. However, shaft runout gets worse over time, which is why it’s important to catch the problem early. Left uncorrected, shaft runout can lead to excess vibration and noise and premature wear and tear, especially on bearings and couplings.
Eventually, any of these issues can reduce asset lifespan and increase your maintenance needs, driving up costs. That’s why it’s so important to routinely check for shaft runout. Using a fast, accurate tool like RotAlign or OptAlign makes it easy to build regular inspections into your maintenance program. The result is greater uptime and productivity, with lower maintenance costs.
Contact Prüftechnik for expert guidance on the right alignment tools for your application.

