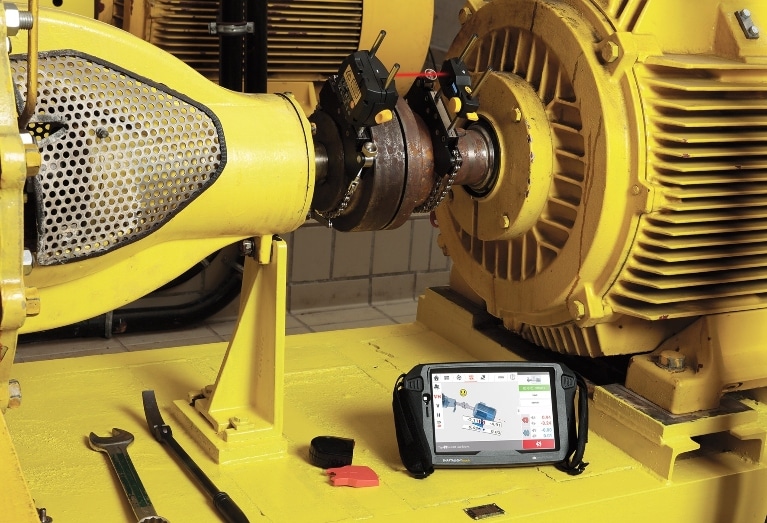
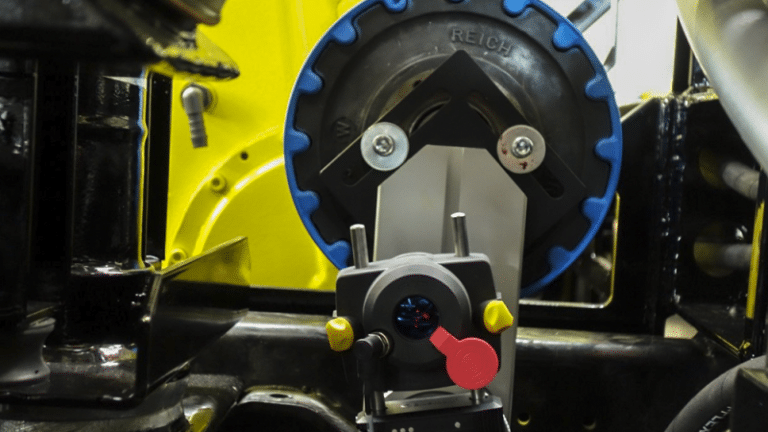
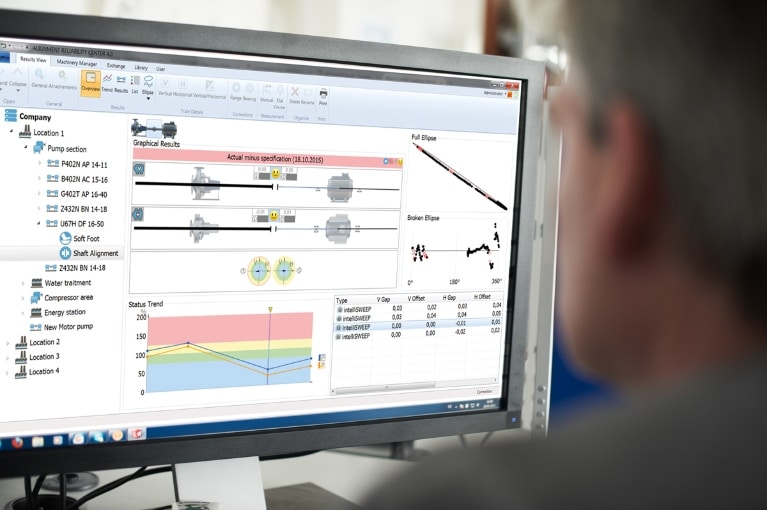
Today’s shaft alignment technology makes it quicker and easier to identify misalignment of all types and sizes of rotating machinery. For example, single-laser alignment systems have eliminated the need for pre-alignment, saving considerable time while increasing precision.
However, once you have the measurement results, the alignment correction process is still manual and can be somewhat tedious. A misalignment of a tenth of a millimeter or thousandths of an inch can lead to premature motor wear, damaged bearings and couplings, wasted energy, and potentially a complete breakdown and hefty replacement and downtime costs.
So “close enough” is not acceptable.
The good news is that new advances in alignment technology help users avoid mistakes by guiding them through the process. Adaptive Alignment systems adjust to virtually any rotating asset, situation, or technician skill level to produce precision alignments.
A case in point is the Live Move feature available on OPTALIGN touch and ROTALIGN touch laser shaft alignment systems from PRUFTECHNIK. Live Move saves time by monitoring machine movement in both the horizontal and vertical planes simultaneously as you move the equipment into alignment. It saves time and guides users along the way to adapt to multiple experience levels.
Here’s how it works:
1. After performing an initial measurement rotation of either a single coupling or multiple couplings, leave the laser and sensor units in position on the shafts. The example in Figure 1 shows that the vertical alignment looks good, but the horizontal alignment has an offset of 8 thousandths of an inch and an angularity of minus-18 thousandths of an inch.
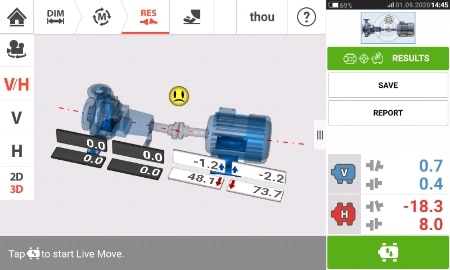
2. Selecting the horizontal alignment view icon reveals a screen that shows the necessary adjustments required for horizontal alignment.
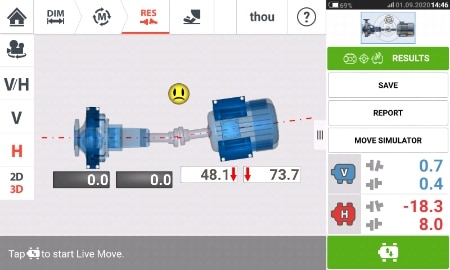
3. When you are ready to start moving the equipment, tap the button on the tablet touch screen to activate Live Move (Figure 3). If you’ve used Virtual Move Simulator (VMS) in ROTALIGN, you can switch directly from VMS to Live Move.
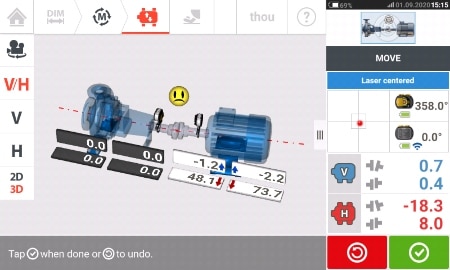
4. In this example, the machines are already vertically aligned, but you usually would start with vertical alignment. First, you would loosen the mounting bolts on the moveable machine and begin the vertical adjustments. Whether you raise the machine with a hydraulic jack, a pry bar, or with a few shims, Live Move continuously measures the movement (both vertical and horizontal) and displays the results on the tablet screen.
5. Since vertical alignment is satisfactory in this case, you can proceed with lateral horizontal movements until the machine is horizontally aligned. As you make adjustments, the values on the screen will change accordingly. Try to get the coupling values as close to zero as possible to achieve precision horizontal alignment.
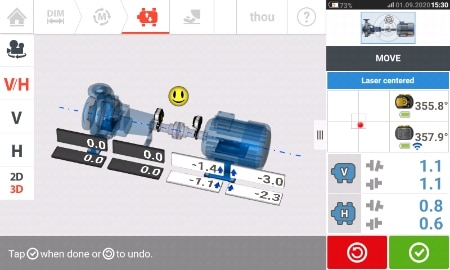
6. When you have achieved a good alignment condition in Live Move, a smiley face will appear above the coupling (Figure 4).
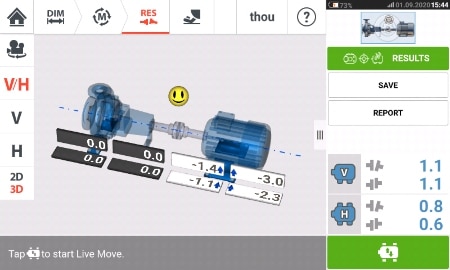
7. Remeasure to verify that both the horizontal and vertical alignment corrections are completed (Figure 5). Readjust if necessary, and retighten the bolts. HINT: Leave Live Move on while you are tightening the bolts in case resistance causes the machine to move slightly out of alignment while you are torquing the machine feet bolts down. This situation may be caused by soft foot. Check out corrective measures in this separate blog post.
8. The final step is to perform another measurement rotation to verify repeatability and confirm that the machine is precision aligned. Once that is done, your live move is completed.
PRUFTECHNIK’s Live Move feature works from any position on the shaft so you can leave the laser and sensor at 12 o’clock, 6 o’clock, or anywhere in between, and activate Live Move to monitor machine movement. This is extremely helpful in situations with restricted access to certain shaft positions.
Live Move also works with multi-coupling alignment with ROTALIGN touch. Just leave the laser/sensor pairs on each coupling after the measurement rotation and align the complete machine set at once. Live Move will simultaneously monitor the entire machine train detecting any misalignment at any point throughout the realignment process.
See Live Move in action as part of PRUFTECHNIK’S adaptive alignment technology solutions.

