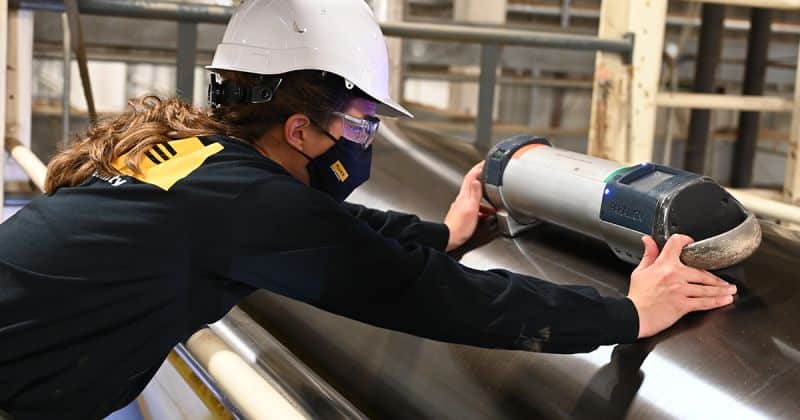
In automotive aluminum sheet production, every millimeter counts. Even the most minor equipment misalignment can lead to major problems.
This issue became a critical point of concern for our customer, a leading global supplier of rolled aluminum sheets for the automotive industry whose products are featured in over 300 different models on the road today. One minor misalignment threw off their production schedules and made it difficult to adhere to the high strength, durability, and sustainability standards they uphold.
The ParAlign services team quickly arrived at our customer’s facility to fix the issue that had brought production to a standstill. Over the next three days, they fixed the problem and tackled two other separate but critical tasks at the facility: assisting with the alignment of a newly replaced slitter section and performing data collection on a third line to inform future improvements.
Here’s a closer look at how the ParAlign team tackled each of these challenges:
Precise alignment restarts production line
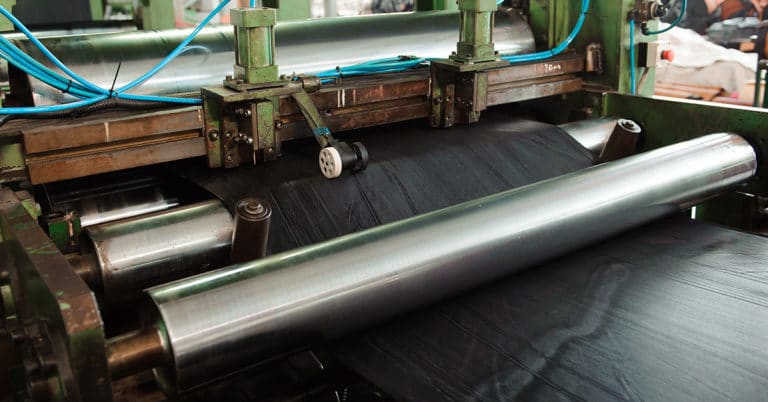
A critical misalignment following a new gearbox installation at the facility had made an entire production line inoperable. The chucks, responsible for picking up large heavy rolls of sheet metal that are used to create the body panels of vehicles, were out of alignment, leaving the machine unable to run.
“The tolerance for the customer’s machines is extremely precise, requiring alignment within the width of two or three human hairs,” explains Tyler Ritter, a ParAlign field services engineer. With such narrow margins, there is absolutely no room for error.
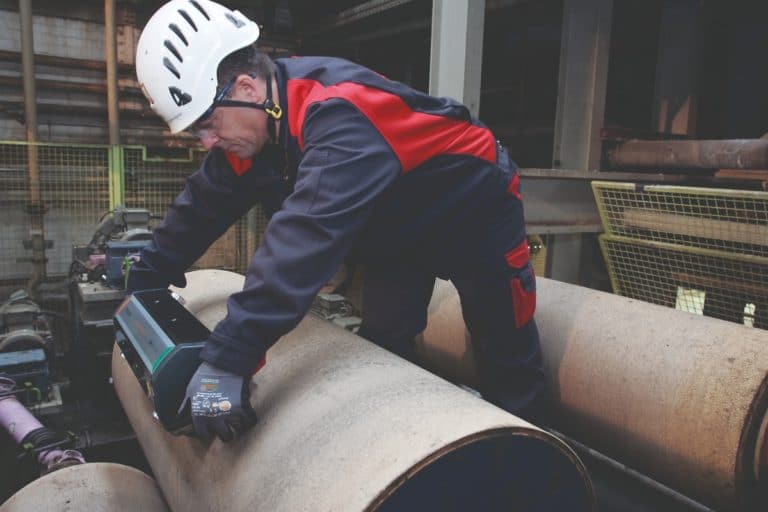
The ParAlign team quickly intervened, using a Faro laser tracker to precisely align the chucks. Then, they used ParAlign to align the rollers throughout the rest of the machinery.
Leveraging ring laser gyroscopes, ParAlign’s roll alignment measurement system boasts a resolution of 4 micrometers per meter (μm/m), or 0.05 mils per foot (mils/ft) — among the most accurate in the world. This precision ensures that even the smallest deviations are detected and transmitted to a laptop where software generates an easy-to-read schematic of the alignment of a machine. Simplifying the measurement process in this way eliminates the need for manual calculations or on-spot analysis.
With this guidance, our customer’s maintenance team was able to make the necessary adjustments while ParAlign technicians confirmed their accuracy.
Since ParAlign takes only 30 to 60 seconds to measure a roll, the team was able to complete the entire alignment for the line in just a day and a half, allowing production to come back online in record time.

Slitter section aligned and ready
While at the facility, the ParAlign team was also asked to assist with the alignment of a newly replaced slitter section.
To do this, engineers first corrected initial misalignments in the slitter section. Then, they used the Faro laser tracker to determine the parallelism, perpendicularity, and angularity needed to align the frame with the existing line and keep it within the recommended OEM manufacturing tolerance. Afterwards, they bolted the frames to the floor.
Finally, engineers brought out ParAlign to adjust the slitter bar to be perfectly parallel both vertically and horizontally with the target roller. Once that was achieved, there were still seven or eight additional rollers in the frame section needing alignment. Due to their similar orientation, the team efficiently used ParAlign to align multiple lines simultaneously.
Data collection for future alignment adjustments
While at the facility, the ParAlign team also undertook a data collection task for a third line. They documented the current alignment status, providing the facility team with essential data for preventive maintenance that would require further precision alignment to avert unexpected shutdowns. A few months later, the customer contacted our ParAlign services team to carry out these alignments.
Each ParAlign service helps minimize downtime and extends the lifespan of our customer’s equipment. Our comprehensive post-service reports, including “before and after” alignment status, demonstrate our precise alignment work, keeping machinery operating within the strictest tolerances.
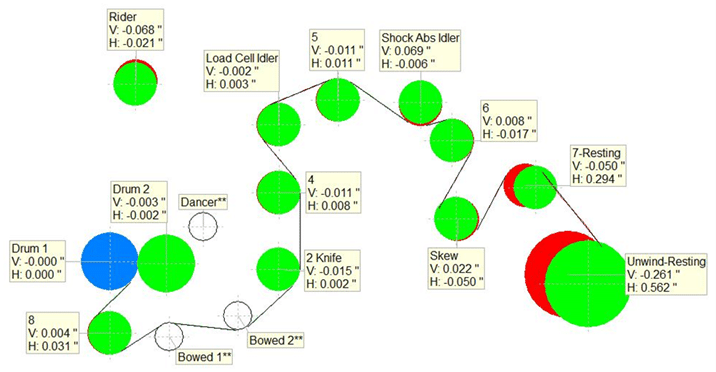
(The Figure 1 and 2 side-view diagrams below show the machines as viewed from the operator side of each machine, respectively. The green circle represents the operator end of the roll, and the red circle represents the drive end. The blue circle represents the reference roll. The given vertical and horizontal offsets are based on the length of the rolls as measured by Fluke Reliability engineers. The image is not to scale, and the offsets have been exaggerated to better represent the data.)


ParAlign for when Precision Matters
This commitment to precision helps all our customers maintain consistent production quality, which is essential for meeting the high standards of their respective industries.
Click here to schedule a ParAlign service for your facility.

